
Linnworks Integration
The SmartConsign App for Linnworks allows you to use your existing carrier accounts with the Linnworks order management system. Estimated setup time: 5–10 minutes
The SmartConsign Linnworks integration allows you to:
- Create labels
- Print labels directly or include them in a packing note/invoice
- Add a tracking number to the Linnworks order record
- Cancel and reprint labels when required
To set up the integration, you will need:
- An active carrier account
- Access to the Linnworks web portal
- A SmartConsign account
You can create multiple SmartConsign integrations if you use multiple carrier accounts or services.
Repeat the setup process for each additional account.
Learn more about a SmartConsign Account
The following video demonstrates the full setup process:
The app must be installed through the web portal, even if you use the desktop version of Linnworks.
- Sign in to the Linnworks web portal at www.linnworks.net.
- From the left-hand menu, select Apps.
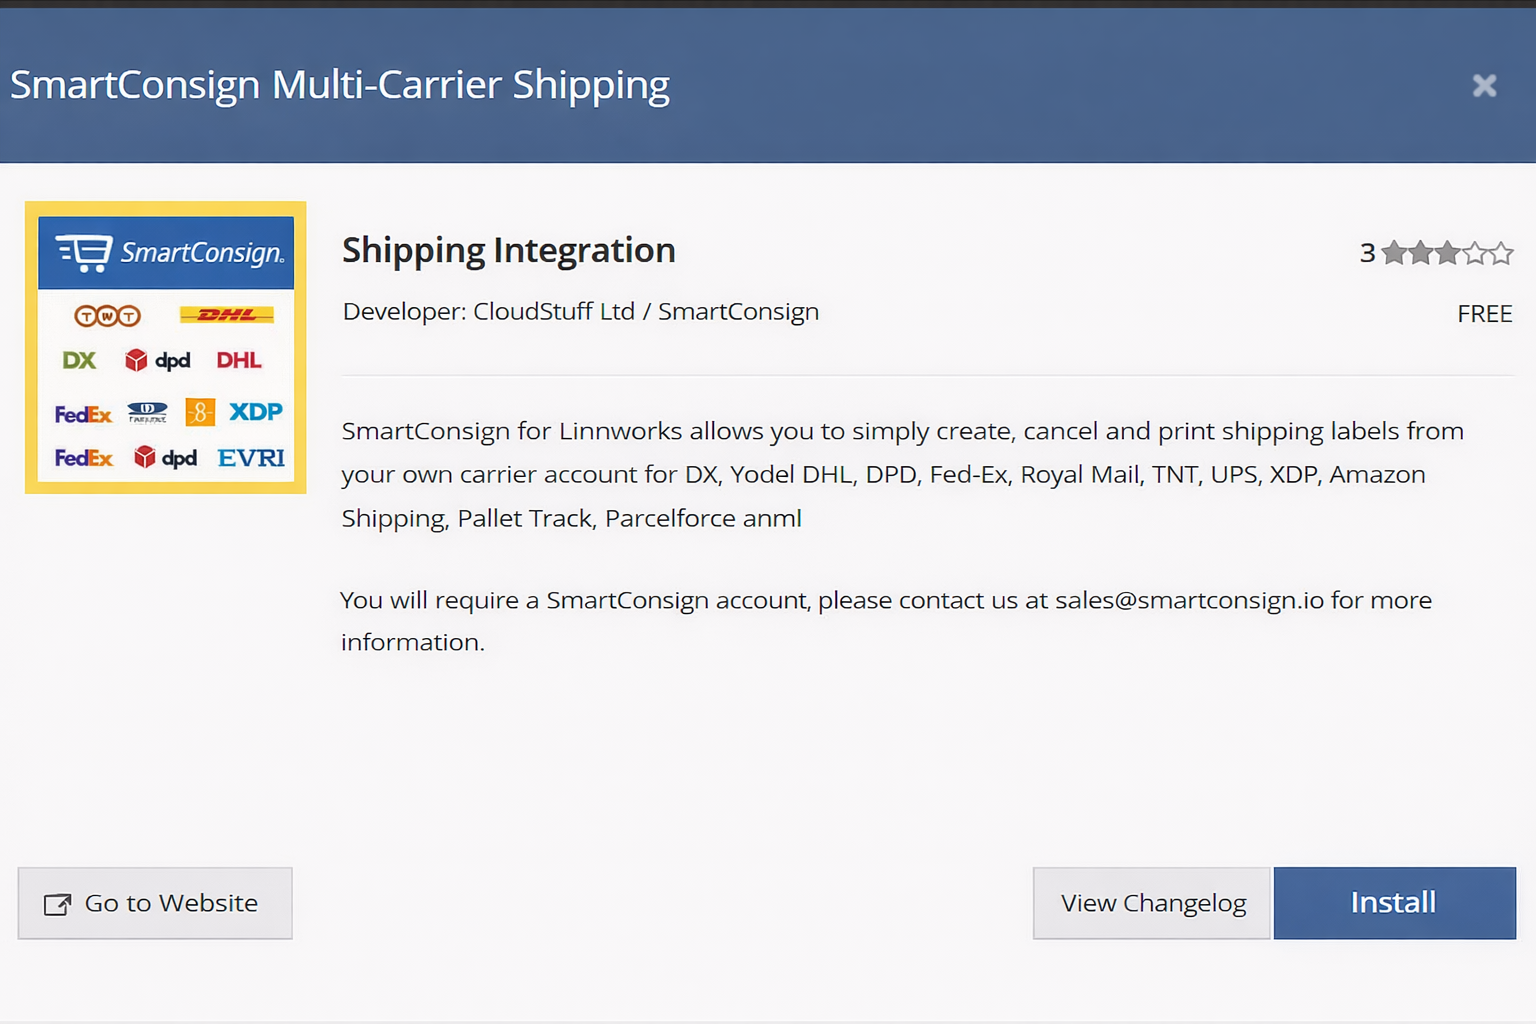
- Click Application Store.

- In the search bar, enter SmartConsign.
- Select Manage next to the SmartConsign app.
- Click Install.
After installing the app, configure the SmartConsign integration.
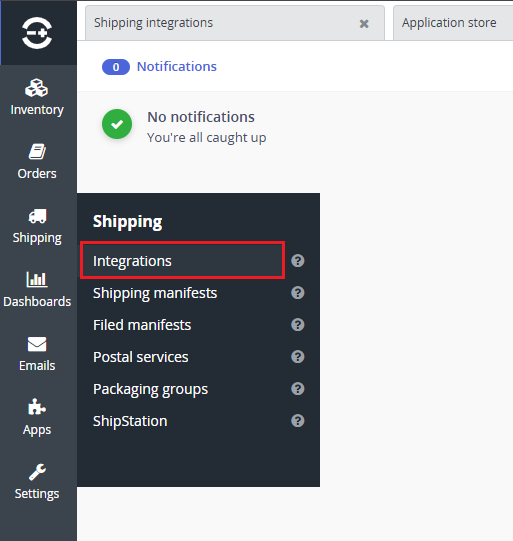
- In Linnworks, select Shipping.
- Click Integrations.
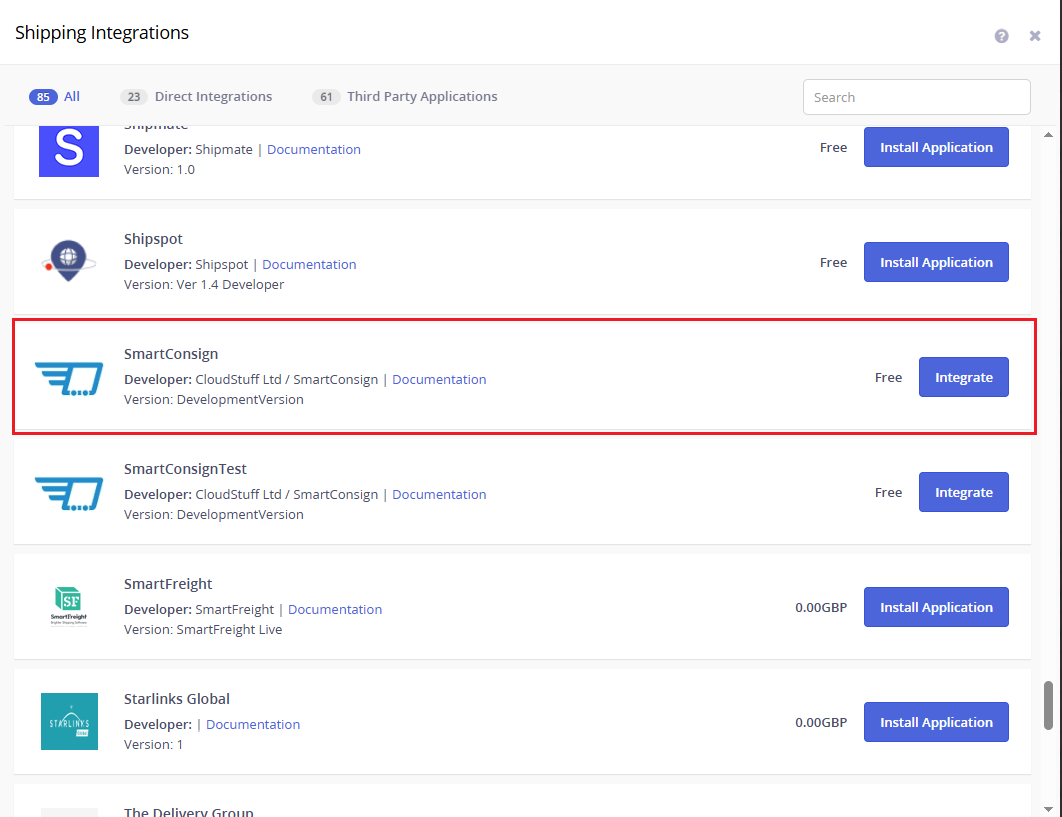
- Click Add Integration.
- Locate SmartConsign 2020 in the list.
- Click Integrate.
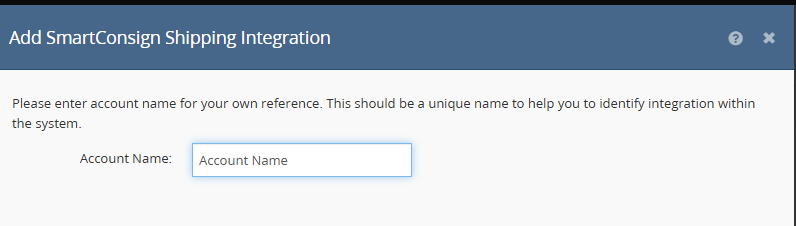
The account name can be any reference. It does not need to match your SmartConsign account.
- Enter a value for Account Name.
- Click Next.
- On the welcome page, click Next.
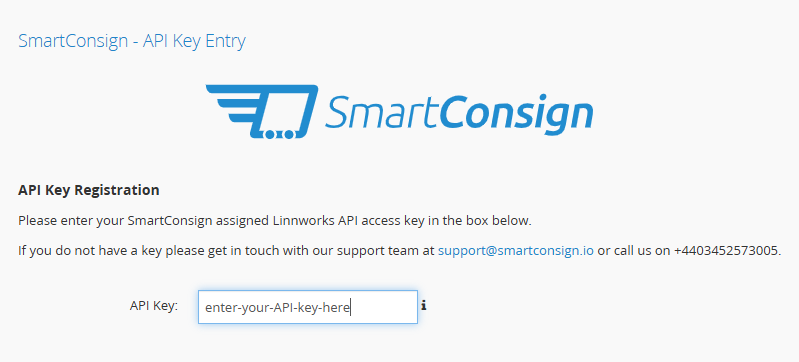
- Enter your SmartConsign API Key (provided when your SmartConsign account is created).
- Click Next.
- Review the configuration details.
- Select the confirmation checkbox.
- Click Next.
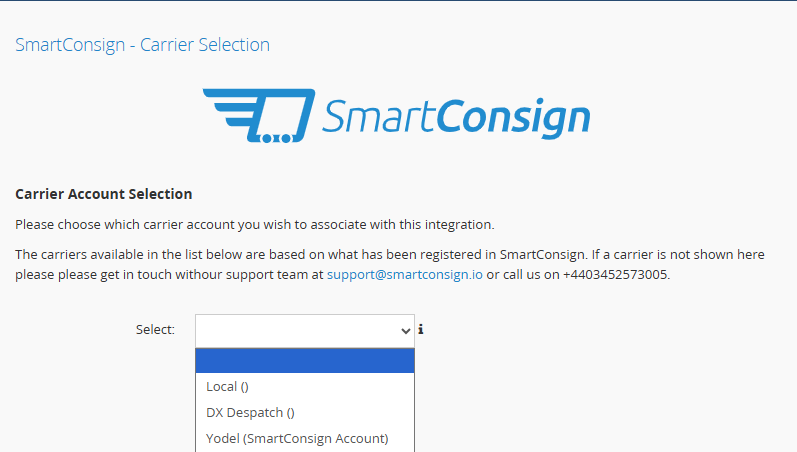
- Select your Carrier from the dropdown list.
- Click Next.
- On the final page, click Next to close the wizard.
After creating the integration, add carrier services.
- Locate your SmartConsign integration.
- Click Services.

- Open the carrier service dropdown list.
- Select a service.
- Click Add.
- Repeat for each required service.

- Rename the Linnworks service if necessary.
- Click Edit on the added service to configure additional options (if available for your carrier).
- Click Finish.
- Open an order in Linnworks.
- Select a configured shipping service.
- Generate a test label.
- Confirm the label prints successfully 🎉
Standard label management tasks are handled within Linnworks.
This includes:
- Mapping services
- Printing labels
- Adding labels to invoices
- Cancelling labels
For full instructions, see the Linnworks documentation:
Linnworks Label Printing Guide
Labels generated by the SmartConsign app are formatted for:
- Size: 4 × 6 inches
- Orientation: Portrait
Labels can be:
- Printed directly
- Included in packing notes or invoices
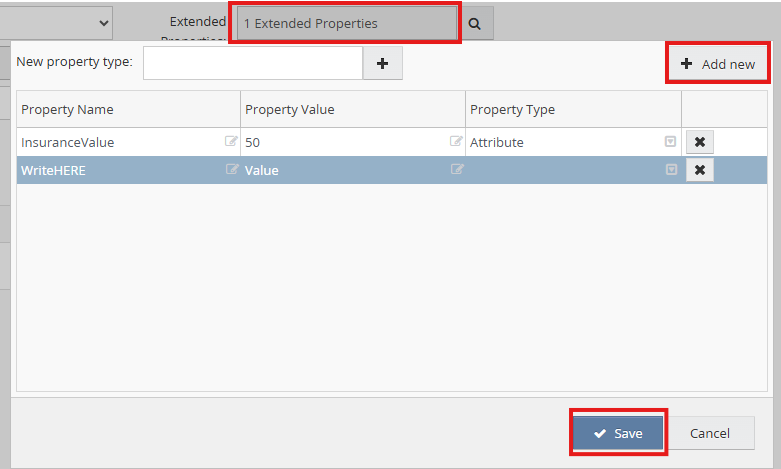
The following Extended Order Property is supported:
InsuranceValue
-
Open the order in Linnworks.
-
Select Edit Order.
-
Add a new Extended Property.
-
Enter the Property Name exactly as:
InsuranceValue -
Enter the required Property Value.
-
Save the order.
More information:
https://docs.linnworks.com/articles/#!documentation/shipping-mapping-properties
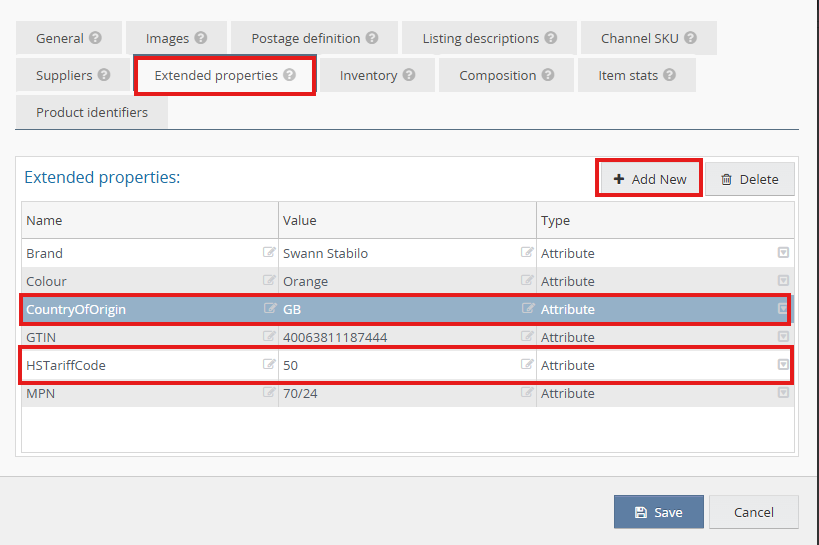
Some carriers require additional Extended Item Properties when shipping to Northern Ireland.
Required properties:
HSTariffCodeCountryOfOrigin
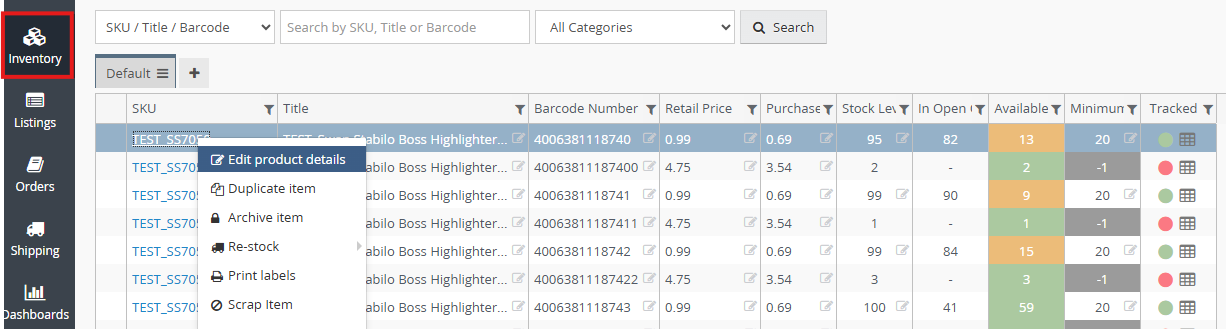
- Open the product in Inventory.
- Select Edit Product.
-
Add a new Extended Property.
-
Enter the Name exactly as:
HSTariffCodeCountryOfOrigin
-
Enter the required Value.
-
Save the product.
More information:
https://docs.linnworks.com/articles/#!documentation/product-details-extended-properties