
Shipments
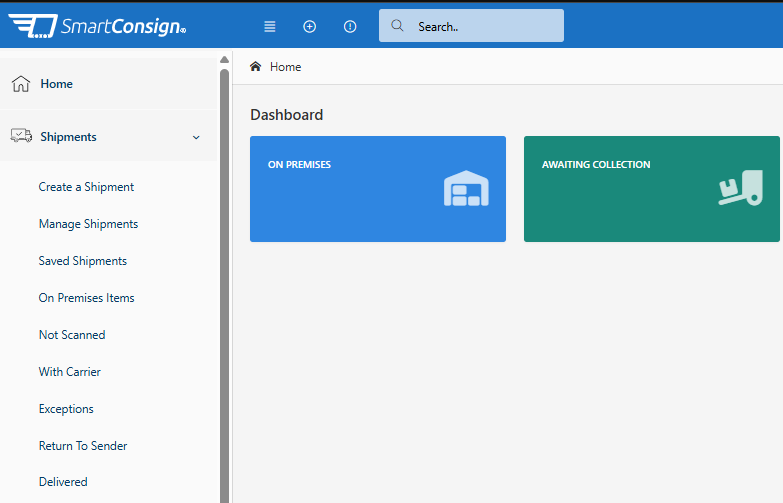
The Shipments section provides access to the main tools used to create, manage, and monitor shipments in SmartConsign.
This menu is organised into dedicated shipment views, allowing users to quickly filter shipments by their current stage in the delivery process. From here, users can create new shipments, review shipment records, monitor carrier progress, manage exceptions, print or download labels, export shipment data, and cancel shipments where required.
The Shipments menu contains pages for creating shipments, managing saved shipments, and monitoring shipment progress.
| Page | Description |
|---|---|
| 📦 Create a Shipment | Create a shipment manually by entering shipment details, addresses, carrier service, and parcel information. |
| 📋 Manage Shipments | View all created shipments and manage them using filters, labels, exports, and shipment actions. |
| 💾 Saved Shipments | View shipments created and saved in the SmartConsign Portal that have not yet been assigned to a carrier. |
| 🏢 On Premises Items | View shipments that are still on site or have not yet moved into later carrier tracking stages. |
| 🔍 Not Scanned | View shipments that have been created but have not yet received an initial carrier scan. |
| 🚚 With Carrier | View shipments that have been collected, scanned, or accepted by the carrier. |
| ⚠️ Exceptions | View shipments that may require attention due to delays, failed delivery attempts, missing scans, or carrier exceptions. |
| ↩️ Return to Sender | View shipments that are being returned to the sender. |
| ✅ Delivered | View shipments that have been successfully delivered. |
ℹ️ Note:
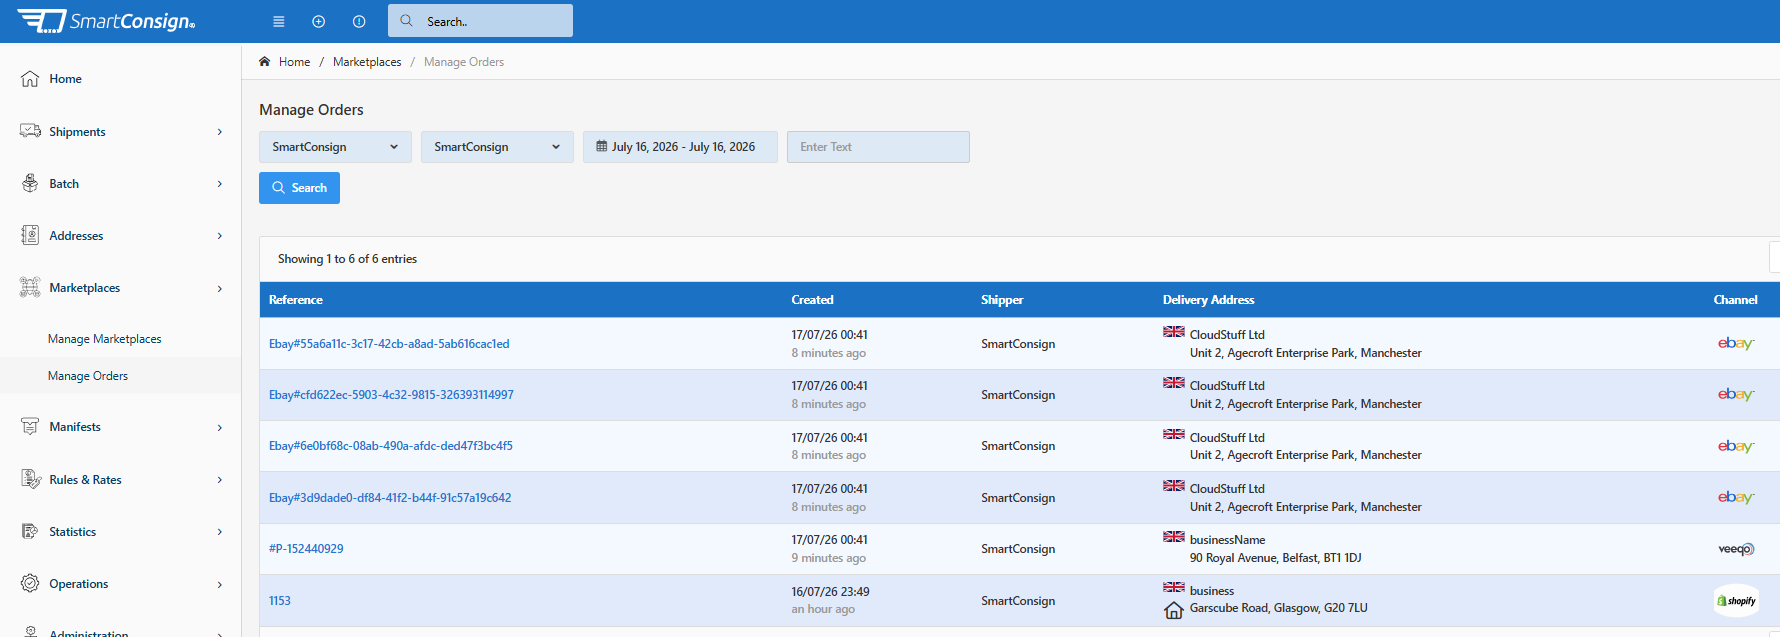
Saved Shipments contains only shipments created and saved in the SmartConsign Web UI that have not yet been assigned to a carrier. Orders received from external sales channels are not shown here. Manage those orders from Marketplaces → Manage Order.
To open the Shipments section:
- Log in to the SmartConsign Portal.
- Select Shipments from the left-hand menu.
- Choose the shipment page you want to open.
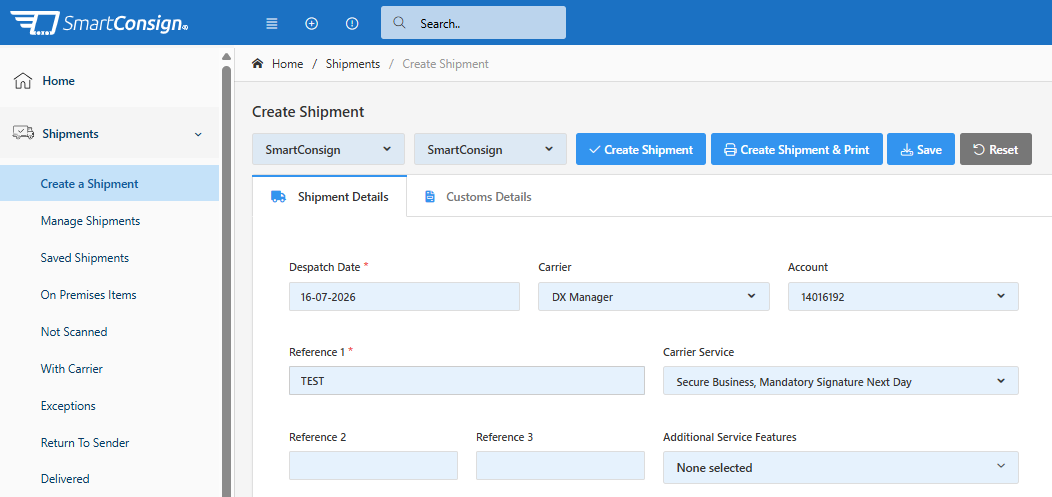
Use Create a Shipment when you need to manually create a shipment in SmartConsign.
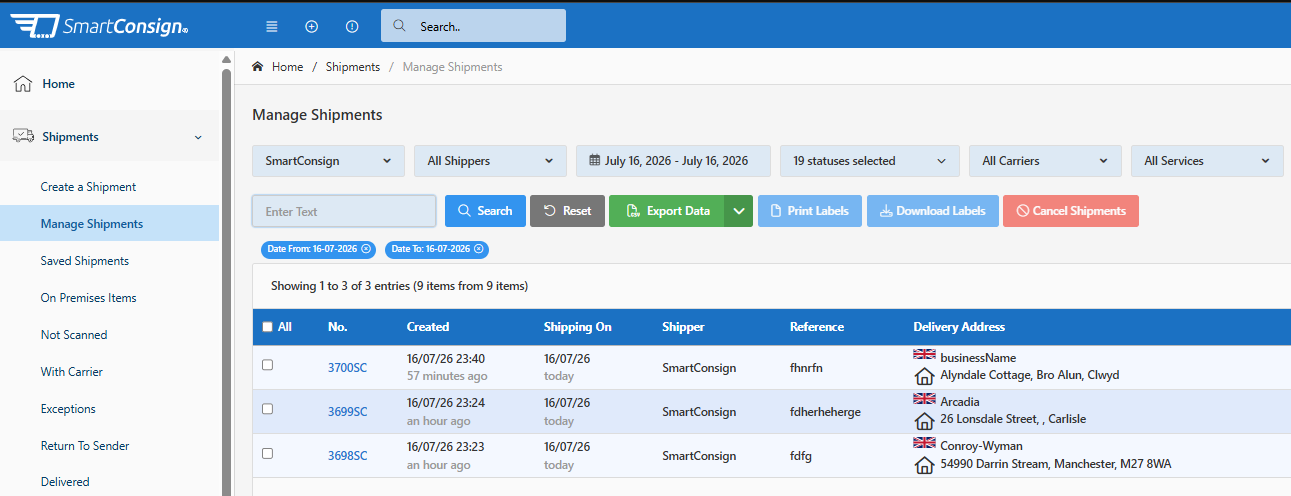
Use Manage Shipments to search, review, export, print labels, download labels, cancel shipments, or open shipment-specific actions from the row menu.
| Page | Main Actions |
|---|---|
| 📦 Create a Shipment | Create a shipment, create and print a label, save a shipment, or reset the form. |
| 📋 Manage Shipments | Search shipments, reset filters, export data, print labels, download labels, cancel shipments, or open row actions from the menu icon ☰. |
The Saved Shipments page contains shipments created and saved in the SmartConsign Web UI that have not yet been assigned to a carrier.
A shipment appears here when:
- It was created in the SmartConsign Web UI and saved before carrier allocation.
- No carrier shipment has been created.
- No carrier label has been generated.
- The shipment still requires review or completion before processing.
Use this page to find, review, edit, complete, or delete saved shipment records before assigning them to a carrier.
ℹ️ Channel orders:
Orders received from other connected channels are not shown in Saved Shipments. Manage these records from Marketplaces → Manage Orders. Orders created directly in the SmartConsign Portal or Web UI remain under Shipments.
| Action | Description |
|---|---|
| 🔍 Search | Search saved shipments using the selected filters and entered text. |
| 🔄 Reset | Clear the selected filters. |
| 📤 Export Data | Export the filtered saved shipment list. |
| 🖨️ Print Labels | Print labels for selected records, where available. |
| ⬇️ Download Labels | Download labels for selected records, where available. |
| ❌ Cancel Shipments | Cancel selected records, where supported. |
| ☰ Row Actions Menu | Open available actions for an individual saved shipment. |

Shipment status pages use the Manage Shipments layout, but each page is filtered to show shipments at a specific stage of the delivery process.
| Page | When to Use It |
|---|---|
| 🏢 On Premises Items | Review shipments that are still on site or have not yet moved into later carrier tracking stages. |
| 🔍 Not Scanned | Identify shipments that may still be waiting for collection, handover, or carrier processing. |
| 🚚 With Carrier | Monitor shipments that have been collected, scanned, or accepted by the carrier. |
| ⚠️ Exceptions | Review shipments that may require attention due to delays, missing scans, failed delivery attempts, or carrier issues. |
| ↩️ Return to Sender | Monitor shipments that are being returned to the sender. |
| ✅ Delivered | Confirm delivery status and review completed shipments. |
⚠️ Important:
Review Exceptions regularly so that delivery issues can be investigated and resolved as quickly as possible.
Most shipment pages include the same search, filter, and action controls.
| Action | Description |
|---|---|
| 🔍 Search | Applies the selected filters and search text. |
| 🔄 Reset | Clears the current filters. |
| 📤 Export Data | Exports shipment data from the current results. |
| ☑️ All Checkbox | Selects all visible records that have an available checkbox. This allows batch actions to be applied to selected shipments. |
| 🖨️ Print Labels | Prints labels in batch for selected created shipments, where labels are available. |
| ⬇️ Download Labels | Downloads labels in batch for selected created shipments, where labels are available. |
| ❌ Cancel Shipments | Cancels selected created shipments in batch, where cancellation is supported. |
| ☰ Row Actions Menu | Opens actions for an individual record. |
ℹ️ Note:
Available actions may vary depending on the shipment status, carrier configuration, account permissions, and selected records.
Some shipment pages allow users to select multiple records and apply an action to them at the same time.
Use the All checkbox ☑️ in the table header to select all visible records that have a checkbox available.
Batch actions may include:
| Batch Action | Description | Available From |
|---|---|---|
| ☑️ All Checkbox | Selects all visible records that have an available checkbox. | Manage Shipments and shipment status pages |
| 🖨️ Print Labels | Prints labels for the selected shipments in one batch. | Manage Shipments, On Premises Items, Not Scanned, With Carrier, Exceptions, Return to Sender, Delivered |
| ⬇️ Download Labels | Downloads labels for the selected shipments in one batch. | Manage Shipments, On Premises Items, Not Scanned, With Carrier, Exceptions, Return to Sender, Delivered |
| ❌ Cancel Shipments | Cancels the selected shipments in one batch, where supported by the carrier and shipment status. | Manage Shipments, On Premises Items, Not Scanned, With Carrier, Exceptions, Return to Sender |
⚠️ Exception — Saved Shipments:
Saved Shipments are saved records only. They are not allocated to a carrier service, no carrier shipment has been created, and no label exists. For this reason, saved shipments cannot be used for batch label printing, batch label download, or carrier shipment cancellation.
Most shipment pages use a similar table layout.
| Column | Description |
|---|---|
| No. | The shipment number or carrier reference. |
| Created | The date and time the shipment was created or saved. |
| Shipping On | The planned or actual shipping date. |
| Shipper | The shipper associated with the shipment. |
| Reference | The shipment reference entered by the user or imported from another source. |
| Delivery Address | The recipient name and delivery address. |
| Carrier & Service | The carrier and service used for the shipment, where assigned. |
| Items | The number of shipment items or parcels. |
| Weight | The total shipment weight. |
| Status | The current shipment status. |
| Actions | Opens the available row actions for the shipment. |
Before reviewing or managing shipments, check that:
- The correct shipment page is selected.
- The correct date range is selected.
- The correct shipper or operation is selected.
- The shipment reference is entered correctly when searching.
- Saved shipments have the required details completed before processing.
- Labels have been generated successfully before dispatch.
- Exception shipments are reviewed regularly.
Check that the correct shipment page, date range, shipper, and search reference are selected. The shipment may also have moved to a different status page.
The shipment may not yet have received a carrier scan. Check that it has been handed over to the carrier, the correct label was used, and enough time has passed for carrier scan updates to appear in SmartConsign.
Open or review the shipment details and check the carrier tracking information where available. Exception shipments may require action, such as correcting delivery information, contacting the carrier, or reviewing the shipment status.
Delivery updates depend on carrier tracking events. Check that the shipment is with the carrier, the tracking number or shipment reference is correct, and the selected date range includes the shipment.
Most shipment management issues can be resolved by checking the selected filters, reviewing the shipment status, and confirming the shipment details.
If you still require assistance, please contact SmartConsign Support at support@smartconsign.io.